 en
 English
 中文简体
 Español
 русский
 Français
 عربى
 Deutsch
 Português
 日本語
 한국어
 italiano
Shengya
Shengya
Shengya
Shengya
Shengya
Shengya
Shengya
Shengya
Shengya
Metal parts rarely come off a machine ready for the next operation. There is usually a sharp edge, a fine burr, or a surface that needs a more consistent finish. A magnetic deburring polisher solves that problem in a quiet, repeatable way: instead of forcing a brush into every contour, it uses a moving magnetic field to guide small abrasive media across the workpiece. The result can reach edges and recesses that are awkward to handle by hand, without the variability of manual work.
What a Magnetic Deburring Polisher Actually Does
At its core, the machine combines a tank of magnetic abrasive media, a liquid compound, and a controlled magnetic field. Stainless steel pins or shaped media move with the field and gently work against the part surface. Because the media is small and mobile, it can follow complex geometry, internal edges, and recessed areas rather than only touching the outside of a part.
This is a finishing process, not a heavy grinding operation. It suits light to medium burrs, fine edge rounding, and surface improvement after machining, stamping, laser cutting, or casting. Very heavy burrs, large weld spatter, or deep tool marks usually need an earlier operation. In our experience, the most successful projects begin by defining the required finish and the part’s handling needs, not by choosing the largest machine on the list.
How the Process Works, Step by Step
Although the equipment looks simple, the result depends on a recipe. A typical cycle follows a familiar pattern:
- Load the parts into the work area, either loose in a basket or held in a fixture, depending on geometry and finish requirements.
- Add the selected magnetic media and a water-based compound that cleans, lubricates, and helps control rust.
- Start the magnetic field so the media begins to flow, rotate, or reciprocate across the workpiece.
- Set the cycle time, field strength, and movement pattern for the part and burr condition.
- Rinse or wash the parts to remove compound and media residue, then dry them promptly.
- Inspect edges, recesses, and surface finish before the recipe is released to production.
The important variables are media size and shape, compound concentration, cycle time, and part loading. A recipe that works for one alloy or edge condition may need adjustment for another. That is normal; the process rewards a little testing before it is scaled up.
Where It Fits on the Shop Floor
Magnetic finishing is flexible, but different production patterns call for different machine formats. The table below is a practical starting point, not a rigid rule.
| Production need | Typical configuration | Points to confirm |
|---|---|---|
| Small batches, samples, and R&D work | Lab-grade or compact unit | Minimum batch size, quick media changes, and repeatable recipe storage |
| General batch production | Standard industrial cabinet | Tank dimensions, load weight, and cycle time for your burr condition |
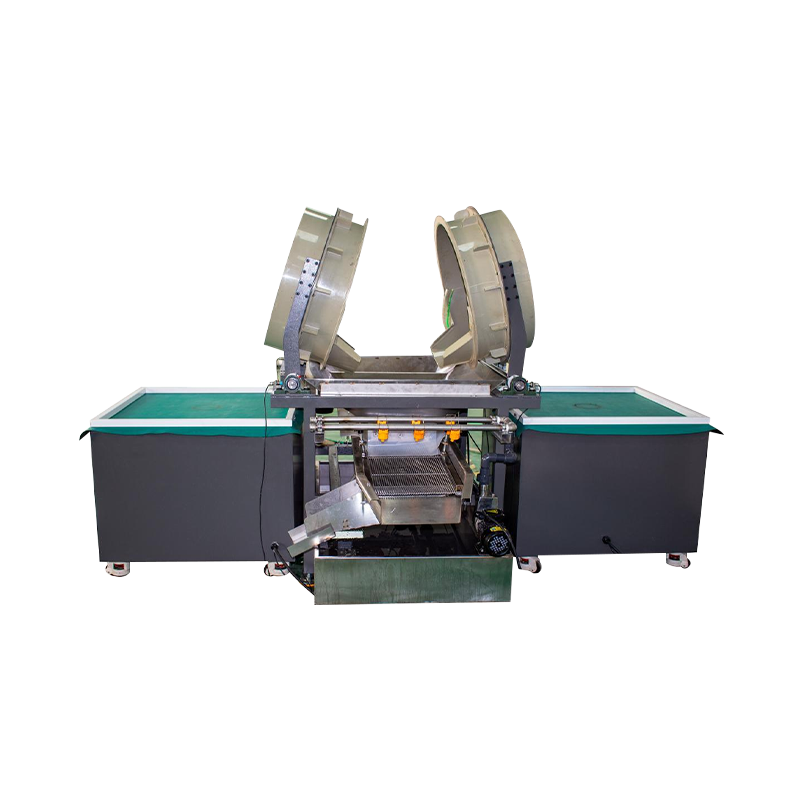
| Long, flat, or large parts | Long-bed, wide-format, or reciprocating machine | Travel length, fixturing, and media coverage across the full part |
| High-volume or automated lines | Pass-through or dual-station system | Part transfer, cycle consistency, and integration with the existing line |
Small batches and lab work
For sample runs and low-volume precision parts, a compact machine lets you prove the finish without committing a full production line. It is also useful for training and for testing new media or compound combinations.
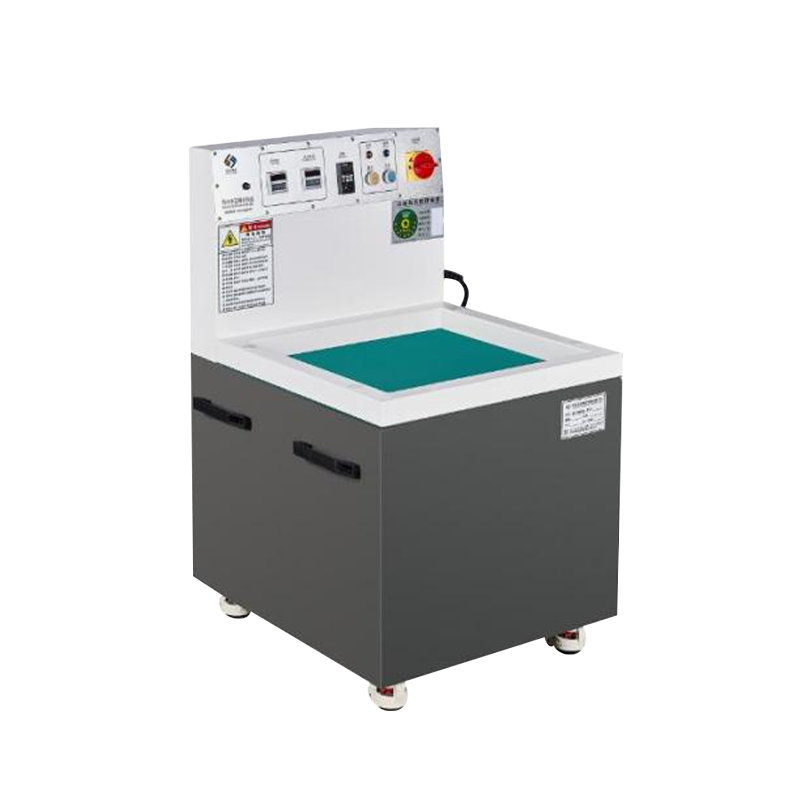
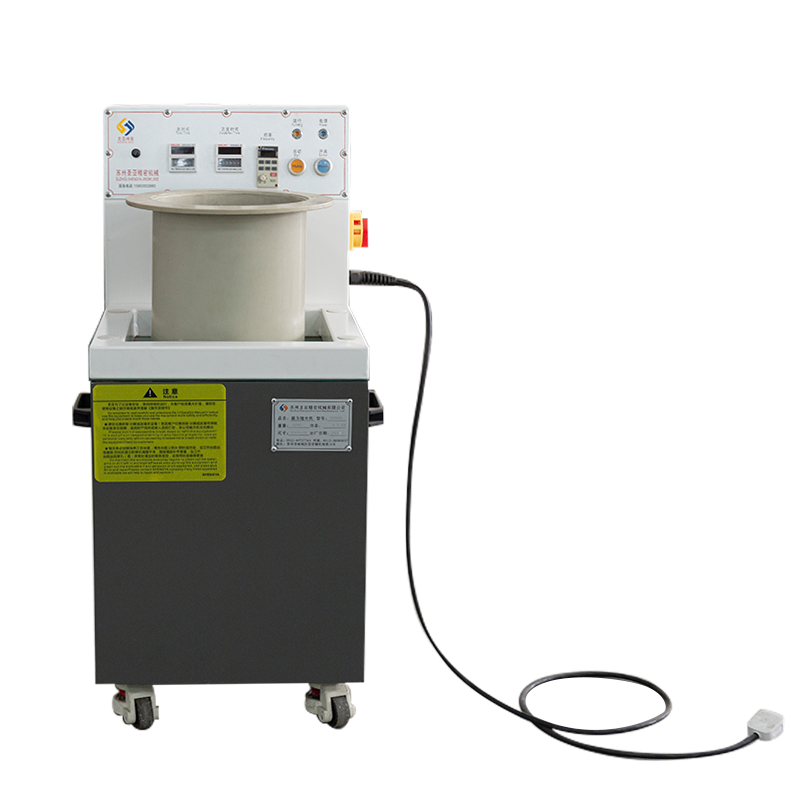 SY8080 Compact Precision Magnetic Deburring Polishing MachineLab-grade unit for sampling and small-batch precision parts, with 0–10 kg capacity and rapid changeovers for proving finishes before production.View Product →
Standard industrial batches
When the work becomes routine, a standard industrial unit gives you a practical balance of tank capacity, load handling, and cycle repeatability. The priority shifts from experimentation to stable day-to-day output.
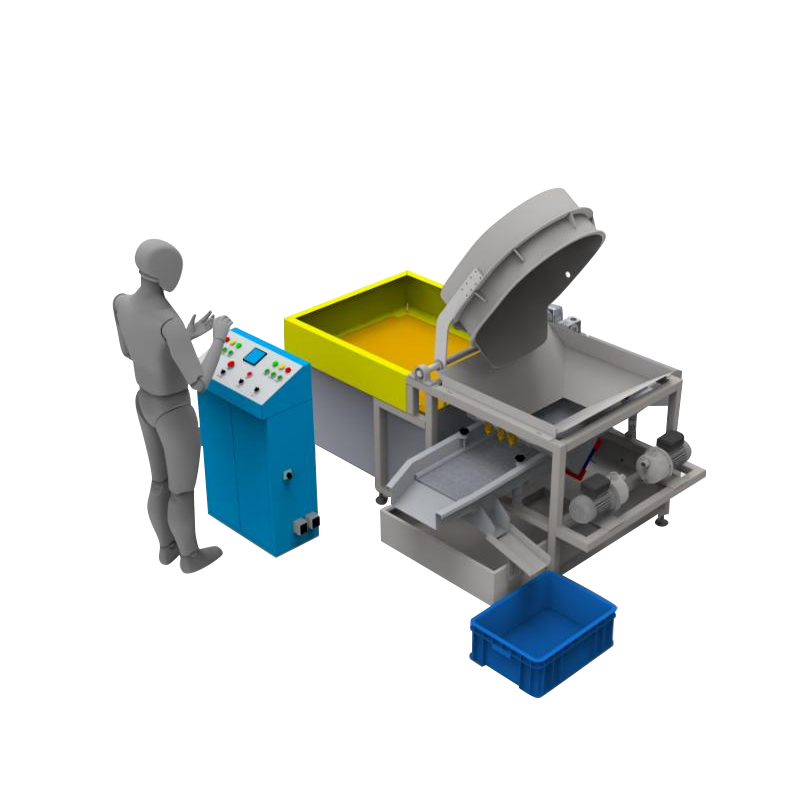
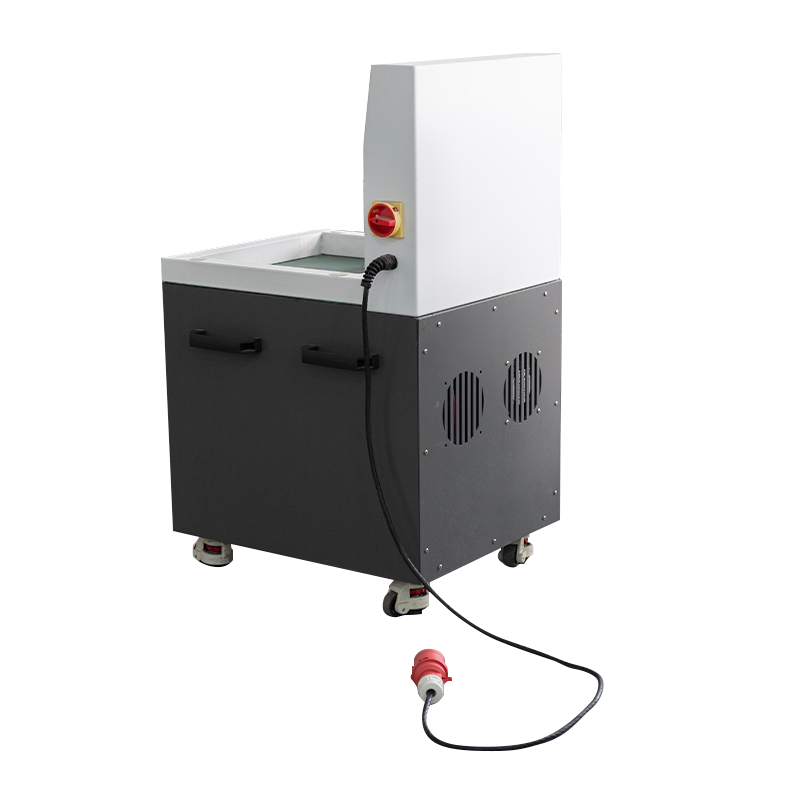 SY8120 Standard Industrial Magnetic Deburring Polishing MachineProduction workhorse for medium-batch continuous operation, offering 0–13 kg capacity, timed forward/reverse cycles and standardized parameter setting for repeatable output.View Product →
Choosing the Right Magnetic Deburring Polisher
Machine selection starts with the part, not the catalog. Before comparing sizes, gather a few facts:
- The largest and smallest part dimensions, including any fragile features.
- The material, previous machining operation, and location of the burrs.
- The required edge radius or surface finish, and whether appearance matters.
- Batch size, available floor space, and how parts will be loaded.
- Whether the process will stand alone or feed an automated line.
- How the parts will be rinsed, dried, and protected after finishing.
- What level of operator attention is realistic on each shift.
A sample test is worth more than a specification sheet. It shows how the media reaches the edges, how long the cycle takes, and whether the part needs fixturing. If you are still mapping the options, our wider range of magnetic deburring polishing machines can help frame the choice by format and capacity.
Media, Compounds, and the Finishing Recipe
The media is the cutting tool. Small pins may reach fine details, while shaped media can be better for broader surfaces or heavier edge work. The compound matters just as much: it carries away debris, keeps the media clean, and helps protect parts from corrosion between the tank and the drying station.
Do not treat the recipe as permanent. As burr conditions change, or as a new alloy enters the shop, revisit media size, cycle time, and compound concentration. Keep a simple record of successful settings. That record becomes more valuable than any generic starting recommendation.
Maintenance and Day-to-Day Practicalities
A magnetic deburring polisher is relatively simple to operate, but it still needs attention. The main daily habits are straightforward:
- Check compound concentration and top up the tank as needed.
- Remove debris and worn media before it affects the finish.
- Inspect fixtures and baskets for damage or trapped parts.
- Keep the magnetic drive area clean and follow the manufacturer’s service intervals.
- Record cycle settings so a proven job can be repeated without guesswork.
Most finishing problems come from drifting conditions rather than the machine itself: weak compound, contaminated media, or a fixture that no longer holds the part correctly. A short daily check prevents most of them.
When a Standard Machine Is Not Enough
Some parts are too long, too heavy, or too awkward for a standard cabinet. Others need to move through the process without manual loading. In those cases, a reciprocating, linear, or pass-through format may be the better fit. The goal is not more automation for its own sake; it is a steady cycle that matches the part and the production rhythm.
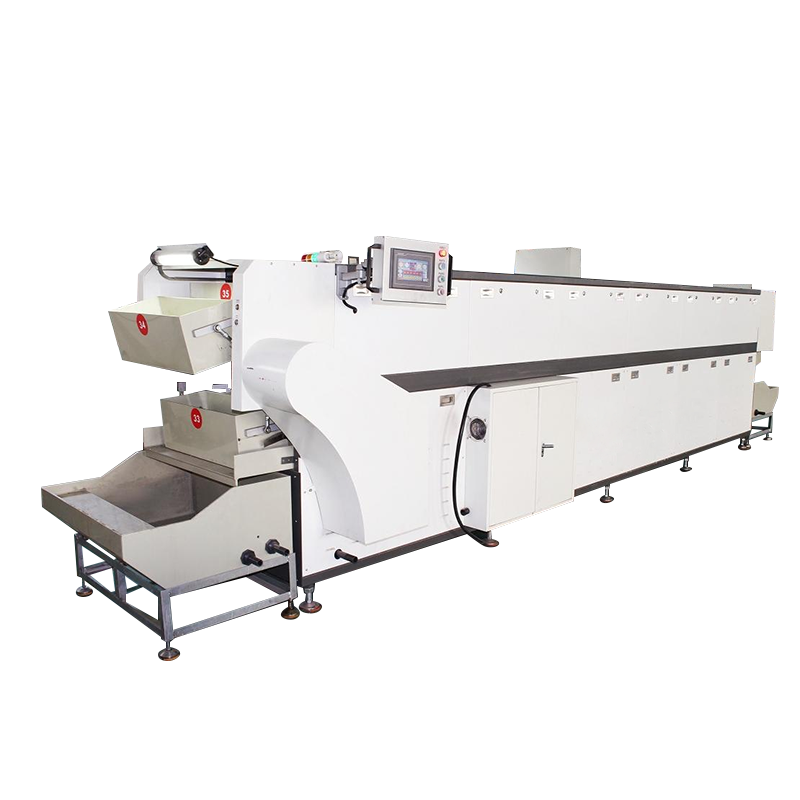
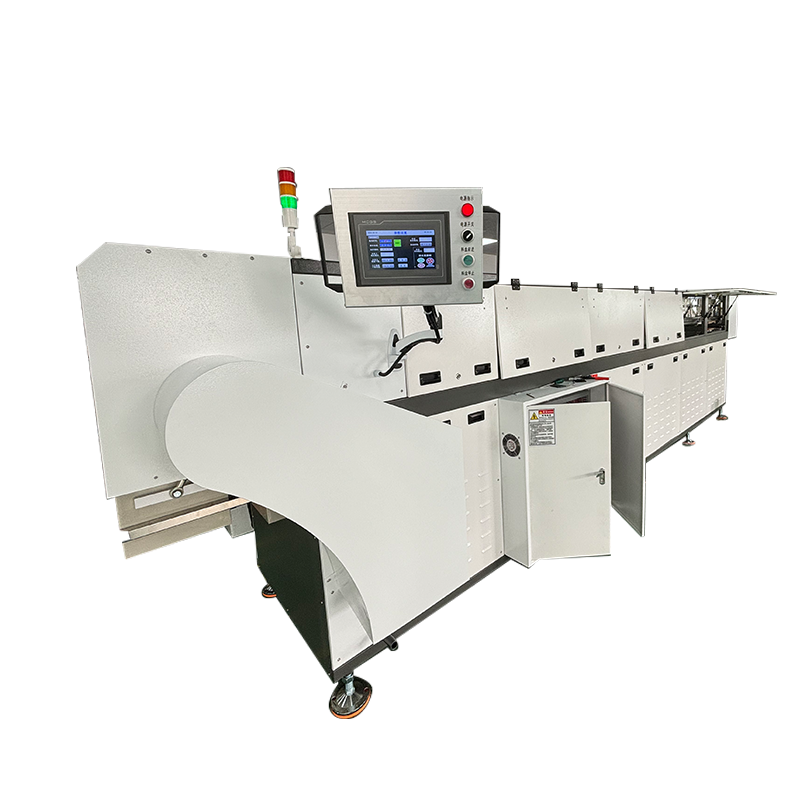 SY-P Series Continuous Pass-Through Magnetic Polishing SystemTunnel-type inline system for mass production, with modular bed lengths and multiple grinding-box counts to match continuous deburring and cleaning cycles.View Product →
For inline work, confirm how parts enter and leave the machine, how orientation is controlled, and how the finishing step connects to washing and drying. Those details decide whether the installation feels smooth or creates a new bottleneck.
A Practical Way to Move Forward
The best way to evaluate a magnetic deburring polisher is with your own part. Send a sample, describe the burr and required finish, and ask for a trial cycle rather than a general promise. A useful supplier will talk about media, fixturing, cycle time, and the wash step as one process.
If you are unsure which format fits, talk through your parts with our team. We will ask practical questions, test what can be tested, and help you choose a finishing setup that suits the work in front of you.