 en
 English
 中文简体
 Español
 русский
 Français
 عربى
 Deutsch
 Português
 日本語
 한국어
 italiano
Shengya
Shengya
Shengya
Shengya
Shengya
Shengya
Shengya
Shengya
Shengya
A magnetic polisher is one of those machines that looks simple from the outside and then quietly solves problems that other finishing methods struggle with. If your parts have cross-holes, slots, threads, or tight internal corners, you already know the frustration: a hand file cannot reach them, a wire brush rounds the edges, and tumbling takes hours while risking damage to critical surfaces. Here is how magnetic polishing actually works, where it fits, and how to size a machine to the parts you really run.
What a Magnetic Polisher Actually Does
The working principle is easy to picture once you have seen it running. A bed of small stainless steel pins sits in a tank of water and finishing compound. A rotating or reciprocating magnetic field drives those pins, and they gather around the workpiece as a flexible abrasive brush. Because the pins conform to whatever shape they meet, they reach into slots, blind holes, thread roots, and the inside of tubes, places where a rigid tool simply cannot follow.
Two useful things follow from that. First, the finishing action is elastic rather than forced, so burrs are worn away and edges are smoothed without heavy stock removal or rolled-over edges. Second, fixturing stays simple. Most parts only need a holder that keeps them inside the working zone, so you are not building a dedicated grinding fixture for every part number you run.
Where Magnetic Polishing Earns Its Keep
After more than a decade of building these machines, we still find the same handful of reasons bringing customers through the door:
- Internal access. Cross-drillings, keyways, and internal threads get the same treatment as outer surfaces, which is where manual work usually stops.
- Geometry stays intact. Sharp edges break down gently instead of being rolled over, so tolerances on critical faces survive the process.
- Mixed batches work. Parts of similar size can often share a cycle, which reduces the sorting and batching that small shops dread.
- Repeatable cycles. Once a recipe is set, the operator loads parts and presses start. The result does not depend on how tired the person holding the file is.
- Low consumable cost. The pin media lasts a long time, and compound is inexpensive relative to abrasive belts or brushes.
- It pairs well with cleaning. A rinse, an ultrasonic clean, and a dry-off complete the process, and the water can be recirculated rather than discharged.
What It Finishes Well and What It Does Not
Magnetic polishing is a finishing step, not a roughing step. It handles machining burrs, stamping flash, fine edge breakout, and the light surface roughness left behind by milling or turning. It is not the tool for heavy weld spatter or large tears, which should be reduced mechanically first so the pins can work on what remains.
Results also depend on the part itself. Hardened steels, stainless grades, and non-ferrous parts all respond differently, and thin walls deflect more than solid bodies. For CNC-machined parts with a mix of external edges and internal channels, a short trial on real parts tells you more in an afternoon than any table of claims. That is why we always ask for samples before quoting a machine configuration.
Matching the Machine to the Part
Machine classes are not marketing tiers; they describe how parts are presented to the magnetic field and how much work the drive system has to do. The table below is the rough map we use when a customer sends us a drawing and a batch size.
| Machine class | Typical part and batch profile | Where it fits best |
|---|---|---|
| Labgrade small batch | Prototypes, samples, small precision parts | Fast changeover and low fluid volume |
| Standard industrial | General machined parts, medium batches | Balanced tank size and throughput |
| Wide-format high capacity | Wider or nested parts, higher volumes | Broad working area for larger footprints |
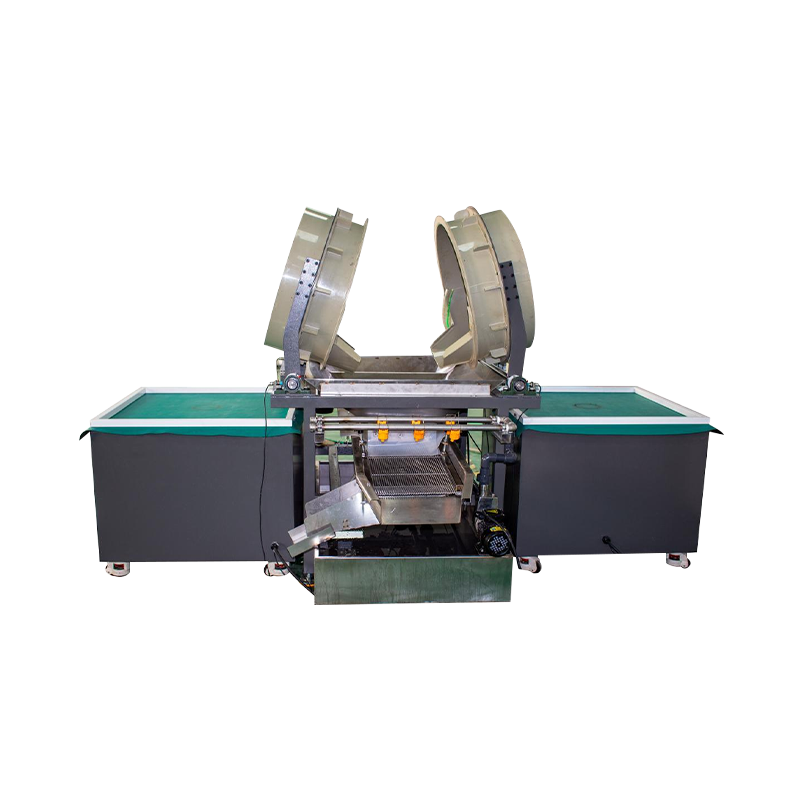
| Long-bed reciprocating | Shafts, extrusions, long profiles | Travel along the part length |
| Dual and triple drive mega format | 2 to 6 metre parts, heavy weldments | Keeps the field active over long workpieces |
| Continuous passthrough | Inline production, steady high volume | Loading at one end, unloading at the other |
From Lab Bench to Full Production Line
Our own range follows the same logic, from a bench-sized unit to a machine that becomes part of an automated assembly line.
Small batches and prototypes
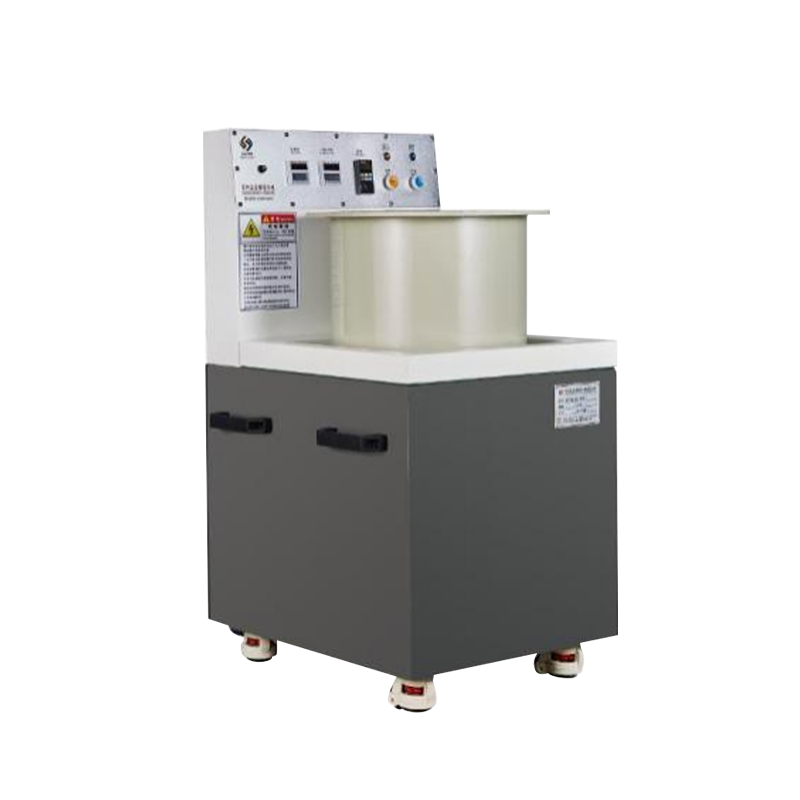
The SY8080 labgrade machine exists because customers kept asking for a way to validate a process before committing to a production unit. It handles small precision parts in modest batches, sits comfortably in a workshop corner, and lets you lock in a cycle recipe that later transfers to a bigger tank.
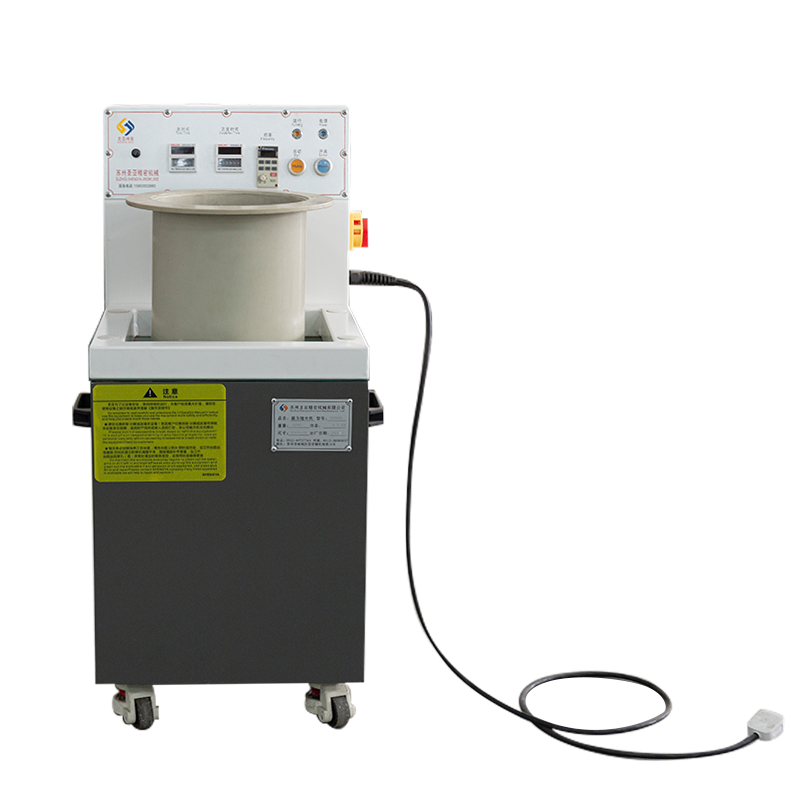 SY8080 Lab-Grade Small-Batch Magnetic Polishing MachineA compact lab-scale unit for validating finishing recipes on small precision parts before transferring the process to a production machine.View Product →
The standard industrial workhorse
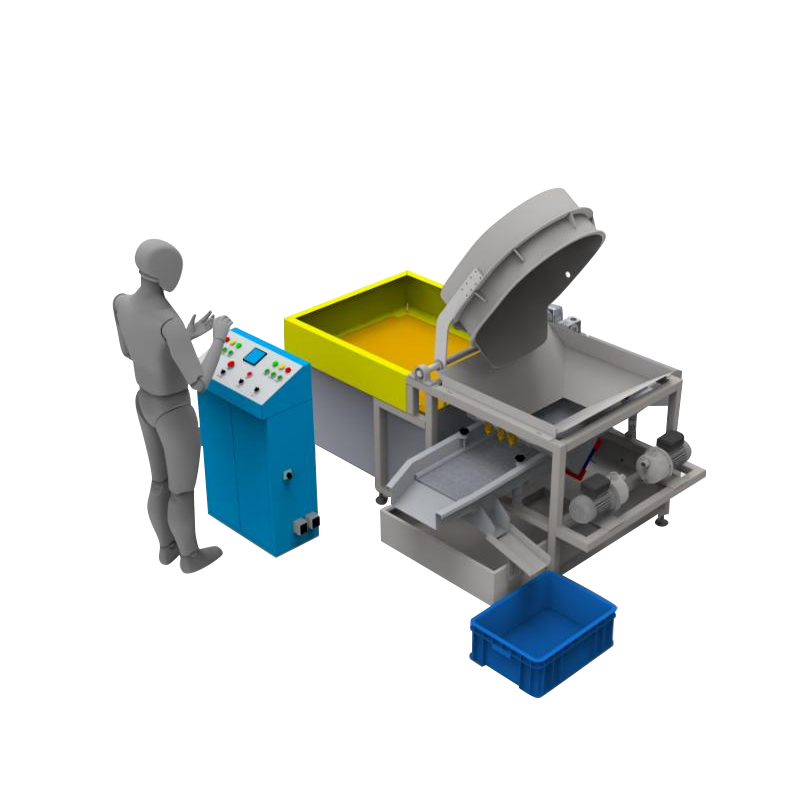
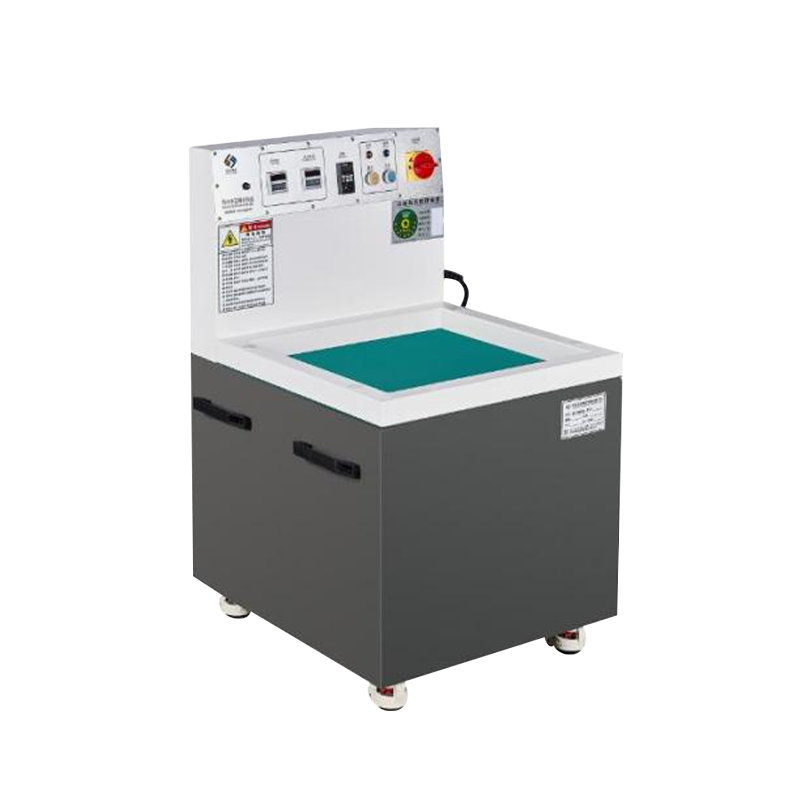
For most job shops, the SY8120 is the sensible starting point. It takes a typical mix of machined components, runs medium batches without babysitting, and gives an operator enough tank room to load several parts at once instead of one at a time.
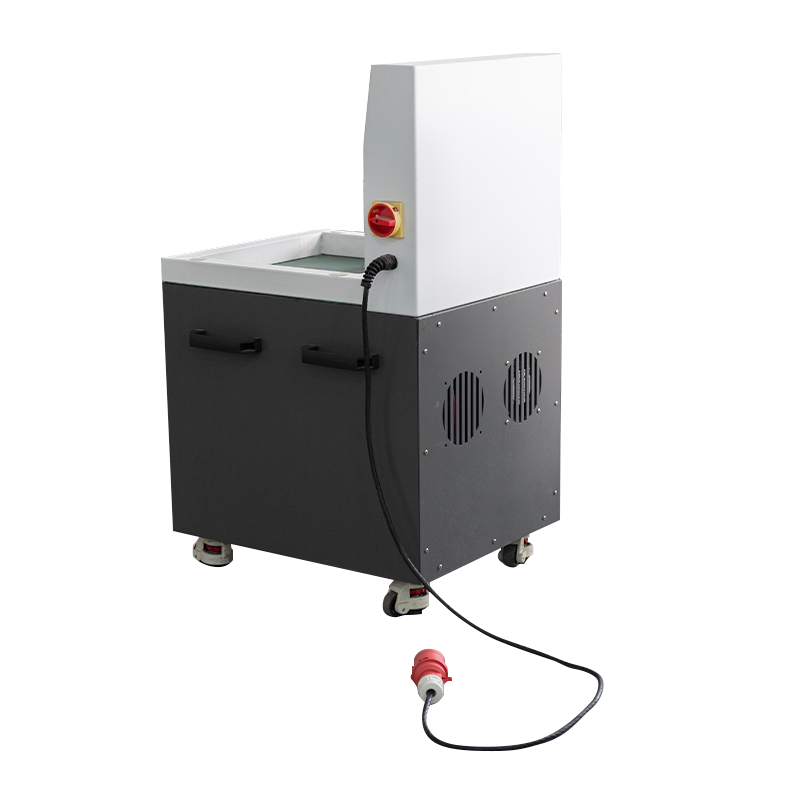 SY8120 Standard Industrial Magnetic Deburring and Polishing MachineA production-oriented unit for medium batches, with a 520×520 mm table and timed forward/reverse cycles for typical machined components.View Product →
When the part never stops moving
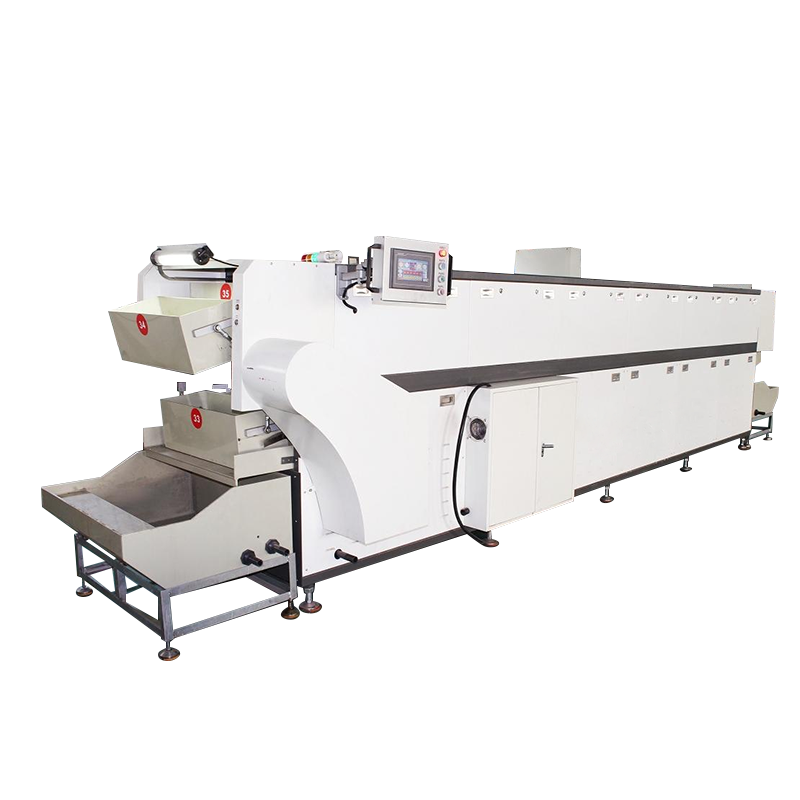
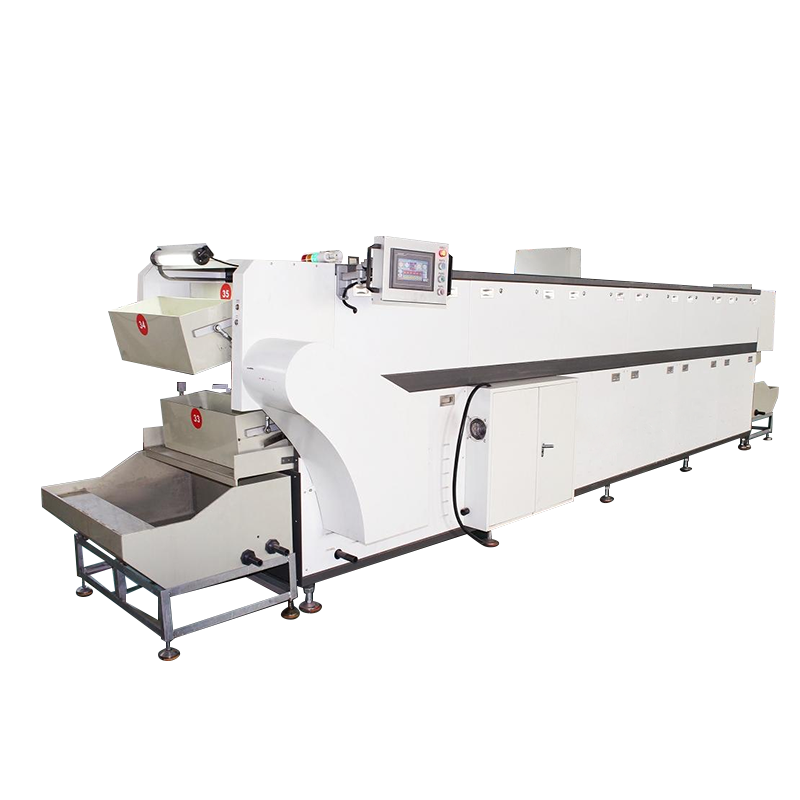
Once the process moves into a production cell, loading and unloading become the bottleneck rather than the polishing itself. A continuous passthrough design lets operators feed parts at one end and collect finished work at the other, which is the configuration that fits best behind a machining line.
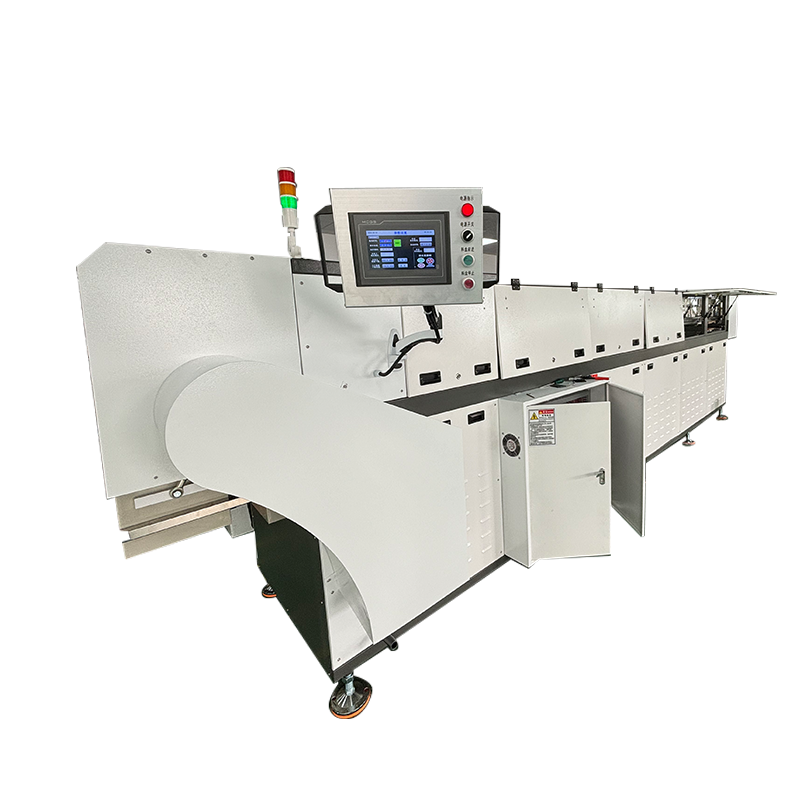 SY-P Series Continuous Pass-Through Magnetic Polishing SystemAn in-line tunnel system for mass production, moving grinding boxes continuously to ease loading and unloading behind a machining line.View Product →
Consumables, Cycle Time, and Realistic Expectations
New buyers often assume the pins wear out quickly or that a magnetic polisher can replace every other finishing step. Neither is true. Pins are a long-lived consumable, topped up occasionally rather than replaced weekly, but they do need the right size and shape for the burr you are chasing. Compound concentration matters too, since it controls both cutting action and how cleanly the parts come out of the tank.
Cycle times usually fall between a few minutes and half an hour, depending on burr size, material, and how densely the parts fill the tank. Overloading is the most common mistake we see: parts crowd each other, the pins cannot circulate, and the cycle stretches while results get patchy. A few well-spaced parts almost always beat a crowded load.
How to Run a Fair Trial Before You Buy
If you are evaluating this process for the first time, treat it as a small engineering project rather than a purchase. Five steps are usually enough:
- Send sample parts with the burrs intact, plus a drawing showing which edges are critical.
- Define "finished" in measurable terms, such as burr height, edge radius, or surface roughness.
- Record the cycle time, tank loading pattern, and compound dosage that produced the result.
- Check the downstream rinse, because residue in blind holes is easier to prevent than to remove.
- Run a second batch independently to confirm the recipe repeats without an engineer standing by.
That last step matters most. A process that only works under supervision will not survive a busy shift. If you would like to see how other shops have approached the same decision, our case studies walk through real part families and the configurations chosen for them. Send us your drawings and a handful of parts, and we will run the trial and tell you honestly what the process can and cannot achieve on your components.