 en
en English
 中文简体
中文简体 Español
 русский
 Français
 عربى
عربى Deutsch
 Português
 日本語
日本語 한국어
한국어 italiano
Shengya
Shengya
Shengya
Shengya
Shengya
Shengya
Shengya
Shengya
Shengya
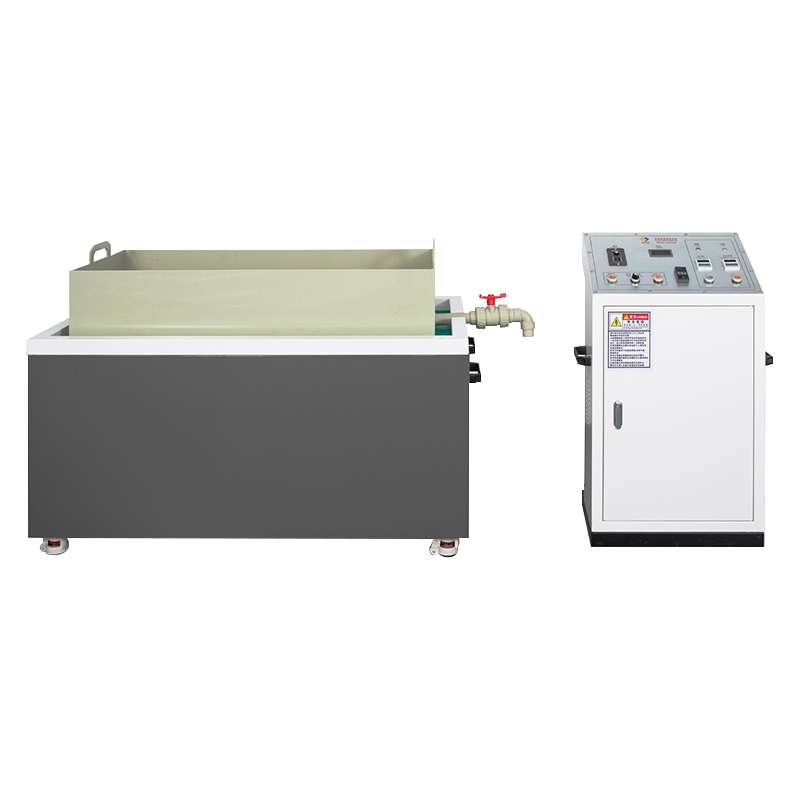
How a Magnetic Deburring Polisher Actually Works
A magnetic deburring polisher — also called a magnetic polishing machine or magnetic tumbler — removes burrs and improves surface finish using a rotating magnetic field rather than mechanical abrasion or hand tools. The machine sits a non-magnetic bowl filled with stainless steel pins (the polishing media), water, and a liquid finishing compound directly above a spinning magnetic disc. When the disc rotates at high speed, it generates a rapidly changing magnetic field that drives the steel pins into vigorous, chaotic motion in every direction simultaneously.
Because the pins move independently at high velocity, they reach into internal bores, threaded holes, blind holes, undercuts, and intricate contours that grinding wheels, files, and even vibratory finishers can't consistently access. As long as a pin's diameter is smaller than the opening of a feature, it will work its way inside and brush every surface. The friction between the fast-moving pins and the workpiece peens away burrs, rounds sharp edges, and burnishes the surface to a bright, semi-mirror finish — all in a single automated cycle that typically takes 5 to 30 minutes.
When the cycle finishes, the parts-and-pins mixture is poured into a strainer and placed back over the magnetic disc. When the disc restarts, it pulls all the steel pins out through the strainer while non-magnetic parts remain behind. No residue is left on the parts, so no additional rinsing or cleaning step is needed. The entire process — load, run, separate, done — is straightforward enough that a single operator can run multiple machines simultaneously.
What Parts Are Best Suited for Magnetic Polishing and Deburring
Magnetic deburring polishers perform best on small, precision parts with light burrs — generally defined as burrs that can be displaced or torn with a fingernail. The process is not designed to remove heavy flash, thick casting fins, or structural burrs left by dull tooling. If a burr is too large, it needs to be knocked down first by a different method before magnetic polishing can take it to a finished state.
The process works on any non-magnetic material — or any part where the burrs and surfaces to be finished are non-magnetic. This covers a wide range of production components:
- CNC-machined aluminum parts: valve bodies, fittings, brackets, housings with cross-drilled passages
- Brass and copper components: hydraulic fittings, electrical connectors, watch and clock parts
- Stainless steel 304/316 parts: medical instruments, food-grade fittings, marine hardware
- Titanium precision parts: aerospace fasteners, orthopedic implants, sporting equipment components
- Jewelry and precious metal pieces: rings, chains, pendants with intricate cut-out patterns, castings direct from the mold
- Plastic and composite parts with internal features requiring edge finishing
Parts that do not suit this process include large workpieces that don't fit in the bowl, very soft metals like pure gold that can be scratched by high-velocity pin contact, and ferrous (iron or steel) parts that the magnetic field will attract to the spinning disc instead of letting them tumble freely. Hardened steel inserts, press-fit pins, or any ferrous feature on a non-ferrous part must be evaluated carefully before running a magnetic cycle.
Magnetic Deburring Polisher vs. Vibratory Tumbler: Key Differences
Both magnetic polishers and vibratory tumblers are mass finishing systems — they process batches of parts simultaneously rather than one at a time. But they work on different principles and produce meaningfully different results. Understanding where each method excels prevents expensive mistakes when selecting finishing equipment.
| Factor | Magnetic Deburring Polisher | Vibratory Tumbler |
|---|---|---|
| Working principle | Rotating magnetic field drives steel pins against parts | Vibration causes abrasive media and parts to rub against each other |
| Internal feature access | Excellent — pins enter bores, threads, blind holes | Limited — media too large for small internal features |
| Cycle time | Fast: 5–30 minutes for most applications | Slower: 1–8+ hours depending on finish requirements |
| Surface finish quality | Semi-bright to near-mirror finish on metals | Matte to smooth; mirror finish requires multi-stage media progression |
| Part size range | Best for small precision parts (typically under 100 mm) | Suitable for small to large parts; scales well with bowl size |
| Part material restriction | Non-magnetic materials only | Works on metals, plastics, ceramics — magnetic and non-magnetic |
| Heavy burr removal | Not suitable — for light burrs only | Better suited for aggressive deburring with hard ceramic media |
| Typical applications | Precision CNC parts, jewelry, medical components | Castings, stamped parts, large-run production deburring |
| Post-process cleaning | None required — pins leave no residue | Rinsing and drying typically required |
The practical takeaway: if your parts have internal passages, threaded features, or blind holes that need deburring alongside external surfaces, a magnetic polisher will achieve more consistent results faster than a vibratory tumbler. For large, simple parts with heavy flash or scale, a vibratory system with ceramic or plastic media is the better tool.
Choosing the Right Magnetic Polishing Media (Pin Types and Sizes)
The stainless steel pins are the working element of the magnetic deburring system. Pin geometry, size, and condition directly determine the surface finish quality and how effectively the machine reaches different feature types. Using the wrong pin for the job produces poor results even on a well-set-up machine.
Flat-End Pins
Flat-end cylindrical pins are the standard workhorse of magnetic deburring. Their flat contact surface produces a burnished, semi-bright finish and is effective at peening away light burrs on flat faces, external edges, and moderately sized holes. These pins are robust and withstand continuous industrial use without deforming. They are the correct choice for general-purpose deburring of CNC machined parts, stamped components, and castings.
Bullet-Nose Pins
Bullet-nose pins have a rounded tip that produces a finer, more polished finish compared to flat-end pins. The curved contact geometry is gentler on delicate surfaces and better suited for producing a bright finish on jewelry, decorative components, and soft metals like sterling silver, brass, and copper. Bullet-nose pins also enter small holes more easily due to their tapered leading edge.
Pin Diameter and Length Selection
The fundamental rule is simple: pin diameter must be smaller than the smallest hole or passage in the part. If you need to deburr a 1.5 mm cross-drilled hole, your pins need to be under 1.5 mm in diameter — typically 0.3–0.5 mm pins work well for small internal features. Larger pins (0.8–1.2 mm diameter, 6–10 mm long) process faster on external surfaces and are the common choice for industrial CNC part deburring. Using a mix of pin sizes in the bowl improves coverage: larger pins handle external surfaces efficiently while smaller pins work internal features simultaneously.
Pin Maintenance
Stainless steel pins are consumable media. Over time they shorten due to wear, become contaminated with metal particles from the workpieces, and eventually need replacement. A batch of pins that has worked down to roughly half its original length should be replaced — worn pins lose their ability to reach internal features and their polishing action becomes inconsistent. Pins should also be rinsed and dried after use if the machine won't be run again within a day or two, since standing water causes ferrous contamination to build up even in nominally stainless steel pins.
Deburring Solution: What It Is and Why It Matters
The liquid compound added to the bowl alongside the pins and parts is not optional — it's an active participant in the process. The deburring solution serves multiple functions: it lubricates pin-to-part contact (preventing scratching), carries away removed metal particles and burr debris, provides a mild chemical brightening or cleaning action, and prevents rust formation on both the pins and the processed parts during and after the cycle.
Most magnetic polishing solutions are diluted at a ratio of 50:1 to 100:1 (water to solution concentrate). The correct dilution depends on the aggressiveness of the finish needed and the material being processed. Aluminum, for example, benefits from a slightly more dilute solution to avoid over-etching. Copper and brass typically need a slightly more concentrated mix to prevent tarnishing during the wet cycle. The manufacturer's recommendation for the specific compound is the correct starting point; adjustments come from observing the finished parts.
Signs that the solution needs replacing include: cloudy or heavily discolored liquid that doesn't clear between cycles, a metallic or sour smell, poor surface finish results despite correct pin condition and cycle time, and visible rust staining on parts or pins after the cycle. In a production environment, solution should be changed on a schedule based on the number of parts processed, not just on appearance.
Step-by-Step: Running a Magnetic Deburring Polishing Cycle
Setting up and running a magnetic deburring polisher correctly the first time prevents damaged parts, inconsistent results, and unnecessary wear on the machine. The following sequence applies to most desktop and benchtop magnetic polishing machines used in job shops, jewelry studios, and small-batch production environments.
- Load the pins: Place stainless steel polishing pins in the bowl to a depth of approximately 5–8 mm (0.2–0.3 inches) from the bottom. Too few pins reduce polishing action; too many can trap parts and reduce their movement.
- Add parts: Place a single layer of parts on top of the pins so they do not stack directly on top of each other. Stacked parts shield each other from pin contact and produce uneven results. If processing a large batch, run multiple shorter cycles rather than overloading the bowl.
- Add water and solution: Pour in enough water to just cover the parts. Add deburring concentrate at the recommended dilution ratio (typically 50–100 parts water to 1 part concentrate). Too much solution causes excessive foaming; too little leaves surfaces unprotected.
- Set cycle time: Enter the desired cycle time on the control panel. Start with 10–15 minutes for a first run on a new part type, then inspect and adjust. Most light deburring is complete in 5–20 minutes; polishing to a brighter finish may require 20–30 minutes.
- Set spin frequency: Adjust the magnetic disc rotation speed. Higher frequency increases pin agitation and cuts faster but can be more aggressive on delicate features. Lower frequency is gentler and produces a finer burnished finish. Most operators find 80–100% speed effective for general deburring.
- Start and monitor: Press the start button and observe the first few minutes. Parts should be moving freely in the bowl. If parts are pinned against the bowl wall by the magnetic field, the parts may contain ferrous content — stop immediately and evaluate material compatibility.
- Separate parts from pins: When the timer completes, pour the bowl contents into a strainer. Place the strainer over the magnetic disc and restart. The disc will draw all pins through the strainer openings, leaving clean parts behind.
- Inspect and dry: Inspect parts under good light for remaining burrs and surface finish quality. Rinse if desired (though typically no rinse is needed), then dry with compressed air or a clean cloth.
Industrial vs. Desktop Magnetic Polishing Machines: Choosing the Right Size
Magnetic deburring polishers range from compact desktop units designed for jewelry studios and prototyping shops, all the way to multi-bowl industrial systems used in high-volume production of precision CNC machined parts. The right size depends on your typical batch volume, part dimensions, and the level of automation your operation requires.
Desktop and Benchtop Units (0.5–3 L Bowl)
Small magnetic polishers with bowl capacities of 0.5 to 3 liters are the standard choice for jewelry workshops, watchmakers, dental laboratories, and low-volume precision machining shops. These machines are compact, quiet, and inexpensive — typically priced between $150 and $800 depending on motor power and build quality. They handle small batches of 10–200 parts per cycle, depending on part size, and cycle through in 10–20 minutes. For a CNC machining shop producing a few hundred precision components per day, a single benchtop unit is often sufficient.
Mid-Range Production Units (3–10 L Bowl)
Mid-size magnetic polishing machines with 3- to 10-liter bowls are designed for production shops running consistent volumes of similar parts. They feature more powerful motors, variable frequency drives for precise speed control, and often include programmable timers with multiple cycle presets. These units process larger batches per cycle and are robust enough for two-shift industrial use. Typical pricing falls between $1,000 and $5,000.
Industrial Multi-Bowl Systems
High-volume manufacturing operations — especially those producing medical devices, aerospace fasteners, or automotive precision components — use large magnetic finishing systems with multiple bowls, integrated filtration and solution recirculation, automated part loading, and data logging for quality control traceability. These systems are engineered for continuous production and priced accordingly, typically starting above $10,000. They are specified alongside other mass finishing equipment as part of a complete surface treatment production line.
Common Applications Across Industries
The magnetic deburring and polishing process has found its way into a wide range of manufacturing and craft environments, precisely because it solves the same fundamental problem in every case: reaching and finishing features that manual or conventional mass finishing methods can't address efficiently.
Precision CNC Machined Parts
After milling, turning, or drilling, CNC aluminum, brass, and stainless steel components routinely carry micro-burrs at drilled hole exits, thread roots, and intersecting passages. These burrs cause assembly interference, damage seals, and create contamination risks in hydraulic or pneumatic systems. A 10–20 minute magnetic deburring cycle removes them from all surfaces simultaneously — including internal cross-drilled passages and threaded features — replacing what might take a skilled technician 30 minutes to do on a single part by hand.
Jewelry and Precious Metal Finishing
Magnetic polishers are standard equipment in jewelry production because they produce a bright burnished finish on sterling silver, gold alloys, brass, and copper pieces in a single short cycle. Cast rings and pendants come directly from the casting flask with rough surfaces and sprue attachment points; after a 15-minute magnetic polishing cycle with bullet-nose pins, they emerge with a semi-mirror finish ready for final hand polishing or stone setting. Intricate pierced designs and chain links that would take hours to hand-polish are handled effortlessly.
Medical Device Manufacturing
Surgical instruments, orthopedic implants, and diagnostic equipment housings require burr-free, smooth surfaces for both functional and safety reasons. Magnetic deburring polishers are well-suited to this application because the process is gentle enough to preserve tight tolerances, leaves no abrasive residue on parts, and produces consistent results across a full production batch — meeting the repeatability requirements of ISO 13485 quality management systems.
Watchmaking and Small Mechanism Components
Watch gears, balance wheels, arbors, and other miniature mechanism components require deburring and surface finishing that preserves their dimensional precision. Magnetic polishing with very fine pins (0.2–0.4 mm diameter) achieves this without removing measurable material from critical bearing surfaces, making it the preferred finishing method for high-quality watch component manufacturers.
Maintenance and Troubleshooting Tips for Magnetic Polishing Machines
A magnetic deburring polisher is a simple machine with few moving parts, but consistent performance requires regular attention to the bowl, pins, solution, and the magnetic disc assembly. Most performance problems trace back to one of four sources: worn media, contaminated solution, incorrect setup, or accumulated buildup on the bowl and disc.
- Poor finish quality or incomplete deburring: First check pin length — if pins have worn to less than 60% of their original length, replace them. Then check solution concentration; over-diluted compound reduces its burnishing and cleaning action. Finally, check cycle time; some alloys or part geometries need longer cycles.
- Parts sticking together or clumping: This happens when the bowl is overloaded or parts are stacked on top of each other. Reduce batch size to a single layer and re-run.
- Brown or orange staining on parts after cycle: Ferrous contamination in the solution. Change the solution and pins. If the staining recurs, check whether any parts in the batch contain ferrous inserts or are partially magnetic.
- Excessive foam during operation: Solution is too concentrated. Drain and refill with a more dilute mix, and ensure the bowl is not overfilled with water.
- Reduced machine performance over time: Mineral deposits from hard water and metal particle buildup can accumulate inside the bowl and on the magnetic disc surface. Clean the bowl regularly with a mild descaling solution, and wipe the top surface of the magnetic disc housing free of collected ferrous particles.
- Solution temperature rising above 90°C: This is normal during extended continuous operation. Allow the machine to cool between cycles if running in a non-production environment, or ensure the machine is rated for continuous duty before running it for hours without breaks.


